ChatGPT in Education:
Harness AI for Dynamic Classroom Content
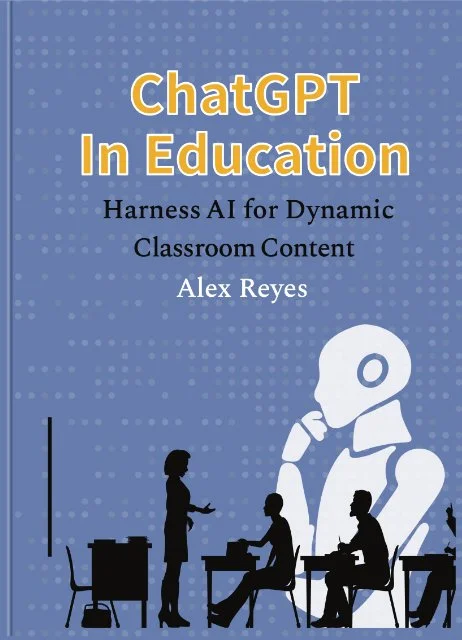
Unlock the power of artificial intelligence in education with 'ChatGPT in Education: Harnessing AI for dynamic classroom content.' This essential guide demystifies the potential of ChatGPT, providing educators with a comprehensive roadmap for integrating AI seamlessly into their teaching practice. Generate assignments to foster critical thinking. This book offers practical examples and strategies across various subjects, including writing, history, math, and science. Discover how ChatGPT can revolutionize classroom grading, assessment creation, and collaborative creativity. Whether you're a seasoned educator or new to ChatGPT, this book will empower you to harness the full potential of AI to enhance student learning and engagement.
The book provides a variety of examples for generating instructional content and how to use that content for instruction and resources. Take a look at the table of contents and see a sample.
Available on Amazon for $8.95 in eBook , $14.95 in paperback or $23.95 for hardcover
These are some of my featured products on Teachers Pay Teachers your purchase helps support this site.
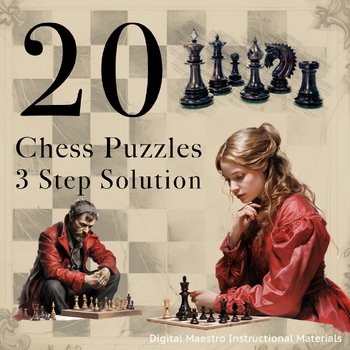
20 chess puzzles that can be solved in two steps. Chess puzzles are good for developing problem solving skills. Solutions are included. Purchase
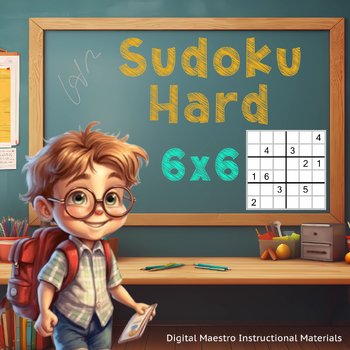
Sudoku puzzles in a 6 by 6 grid for children and beginners. Great for problem solving and critical thinking. Purchase
Five word problem activities related to solving for the percentage of a value. Purchase
Writing prompts that stress the use of nouns, adjectives, antonyms, and synonyms. Great for vocabulary development. Purchase
In this lesson, we are going to use the magnetic sensor to calculate the velocity of a car moving across a track.
This is the setup. I have a toy car, Hot Wheels, with a magnet attached to the roof. The car is on a Hot Wheels track. Next to the car and track is a sensor gate. The sensor gate has a Micro:bit. The micro:bit will use the magnetic sensor to detect the passage of the car and magnet through the gate. A small distance away is another sensor gate. This gate is also set to detect the passage of the car and magnet.
This lesson will use the internal timer to create a basic stopwatch program. The program in this lesson is based on the code provided by Micro:bit to learn the fundamentals. I’ve taken it and expanded on the explanations.
The conductivity tester in our lesson will help us identify items that are conductors, resistors, or insulators. Conductors and resistors are very similar. Both of them allow electrons to flow through a circuit. Resistors allow less of the electrons to flow. Some electronic components need more current and some require less. Too much current going to a component that requires less can damage the component. Resistors are used to reduce the amount of current going into those components.
This lesson focuses on using several Micro:bits to collect sensor information and relay that information to one Micro:bit. The one Micro:bit is connected to a computer to collect data and save it to a Comma Separated Value, CSV, file.
This lesson will create a program to collect data from at least three sensors on the Micro:bit. The lesson will cover a fourth sensor option for collecting moisture information. The Micro:bit has several sensors that are useful in scientific explorations. They are useful for students that want to create a science project that uses several sensors. The Micro:bit can collect data from all the sensors at the same time. This includes sensors on the Micro:bit and sensors connected to it.
This lesson requires two Micro:bit devices. One is used to collect sensor data from a source. The other is used to receive the data and store it onto a computer as a CSV, Comma Separated Value, file. This lesson demonstrates how we use code within a program to do a lot of tasks for us. Most of those tasks are math-related. This lesson will use math to calculate several variables.
In this lesson, we are going to work on a countdown timer. The timer will count down in seconds, but it can be used for minutes too. We will develop an interface to set the timer value with the A and B buttons. The shake option will be used to reset the timer. We will include a countdown tone.
In this lesson, we are going to transfer data from the Micro:bit temperature sensor directly to our computer. This is a good introduction for the collection of data from Micro:bit sensors. The Micro:bit will collect sensor data. The data will be saved to a CSV, Comma Separated Value, file. The CSV file can be imported into any spreadsheet program. We will import the file into a Google Sheet and create a line chart.
This lesson creates codes for a progress bar. Progress bars are a good way to get feedback during an operation. The Micro:bit has a variety of sensors. Those sensors are an excellent way to collect data for science investigations. The collection of data can take some time. The duration can be a few minutes or more. During that time we don’t have visual clues to provide feedback on the data collection progress. This is where a progress bar is something useful to include in a project.
This project uses two Micro:bits. One will record the ambient temperature and the other will receive and display the temperature. This allows us to remotely monitor the temperature from one Micro:bit. This is useful if you don't want to constantly pick up the Micro:bit from its location to get a reading.
The Micro:bit has a sensor to measure the ambient temperature. It is not designed to be touching something like water. The sensor is inside the CPU.
The sensor is like a thermometer. A thermometer, like the one on the Micro:bit, can be used to trigger events. An event can include the update of information on a display or the activating of something like a cooler or heater.
The goal of the project is to create a light meter to register light values from two different sources at a time. The meter allows us to quantify the brightness of a source. These sources can include a candle, flashlight, LED, incandescent bulb, and fluorescent lights.
Sensors on the Micro:bit and a little programming allow us to develop products that respond to input from the world in ways that produce desirable results.
Light sensors are used in a variety of real-world applications. Light sensors are used in outdoor lights to turn them on when it gets dark. The same sensors turn the lights off when the sun is out.
The Micro:bit has LEDs that emit light. The same LEDs are used to collect and measure light. The LEDs on the Micro:bit perform double duty.
In this lesson, we are going to:
1. Learn to measure the light received by the sensor.
2. Set the brightness of the Micro:bit LEDs based on the ambient light.
3. Turn the LEDs On or Off based on the ambient light.
The Micro:bit has a variety of sensors. One of these sensors includes an accelerometer. The accelerometer is behind the B-button. A label on the Micro:bit behind the buttons points to the motion sensor.
The word accelerometer might make you think that it measures acceleration. The accelerometer measures motion. The motion comes from lifting or rotating the Micro:bit.
The accelerometer measures motion in three different directions. It measures motion when the Micro:bit is moved side to side or up and down.
This lesson explores the use of Scratch to create multiple character dialogue. Dialogue between two characters is relatively simple. Adding more characters makes it difficult to control the flow of the conversation. I expand on a previous lesson
In this lesson, we are creating text sprites for use in Scratch projects. The Sprite and Backdrop design tools in Scratch are basic. Scratch has some tools to create basic shapes, drawings, and text. The text option has a handful of fonts.
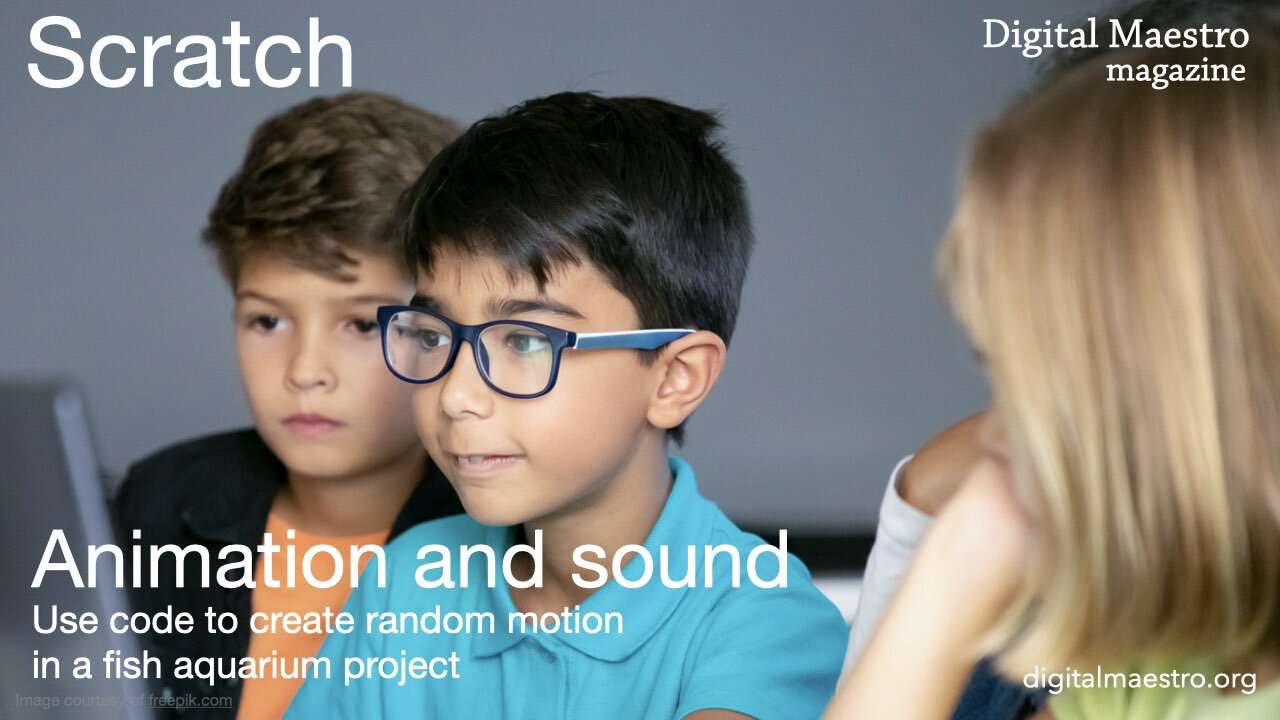
In this lesson, we are adding animation and sound to our aquarium project. The animation for this project includes fish swimming in and out of the scene. It includes animation for the diver as he floats in the tank. We are adding underwater bubble sounds for the project background noise.
This lesson explores the use of lists to provide dialogue in multiple languages. This is a good project for second language learners. In this project, we use several lists for several languages. The project includes five language options. The interactive part of the project prompts the user to select from one of the available languages.
In this lesson, we are going to reproduce the presentation using Lists to organize the dialogue and question prompts.
Lists reduce the length of our code in a variety of ways. Much of it depends on the product you are creating. The original presentation in the lesson uses ten lines of dialogue in the code. The presentation consists of one scene. You can imagine the number of dialogue lines needed in a full story.
Scratch from MIT is a wonderful tool to teach coding through storytelling. I have a book available through Teacher Pay Teacher on the fundamentals. This lesson is an extension of that book.
The lesson here focuses on user interaction within the story. Stories are not the only thing created with Scratch. I like using it for research projects. I also like it for extension projects for core content.
This lesson covers a process for preparing graphics and images for use with the Scratch coding environment.
Scratch is limited to a specific resolution for images. This resolution I’m sure dates back to the early days of Scratch and the limitations of technology at the time. The resolution for all projects is set to 480 by 360 pixels or less. This is a low resolution compared to today’s standards.
In this lesson, you will learn how to use a loop to accelerate and decelerate. Loops are an important part of developing autonomous programs. The purpose of a robot is to perform a series of tasks. Most tasks are specific to a particular objective. Many tasks include repetitive operations. Robots can perform repetitive tasks all day long.
In this lesson, we are covering the fundamentals for controlling the mBot with the remote. We will cover the button options for driving the robot around. The mBot robot from Makeblock is a good STEM tool. The robot is a motorized vehicle with basic motor controls and sensors. The controller has several sensors, LEDs, and a small speaker.
Fundraiser thermometer graphic with Google Sheets. We are using Google Sheets to create our fundraiser thermometer. The sheet will display daily updated totals on the web. The thermometer will be dynamic with changing colors and updated information.
In this lesson, we are creating a Box plot chart. Google Sheets does not have a tool to create a Box plot chart, so we will create our box plot using Google Drawings. We will begin with Google Sheets to collect and organize the information.
Create histograms with Google Sheets. Histograms are used in statistics. They are used to show the frequency of a set of continuous data. Numerical data can be discrete or continuous. Discrete data is counted. Continuous data is measured. Examples of discrete data include the number of students in a class or the number of faces on a die. Continuous data can take any value. Examples of continuous data include a person’s height or weight.
Custom 3D charts with Google Drawings. Creating charts manually provides opportunities to teach and learn. It opens opportunities for students to experience another way to do the same thing. Developing a chart with Drawings provides opportunities for artistic expression. It gives students access to the behind the scenes stuff that’s usually hidden with modern applications.
Infographics are a good way for students to summarize information. It allows them to represent what they have learned in alternate ways. Infographics are highly visual and fact-intensive.
Infographics are useful in many segments of media; people grasp information faster when it is visual.
Google Slides is a good way to publish graphs that are constantly updating. This works well when gathering data through polls and surveys. This is the type of data we are representing in the charts for this lesson. The data in this lesson comes from something we did to increase attendance at the campus.
